Ex 1 kivyApp1.py
from kivy.app import App
from kivy.uix.label import Label
class MainApp(App):
def build(self):
label = Label(text='Hello from Kivy',
size_hint=(.5, .5),
pos_hint={'center_x': .5, 'center_y': .5})
return label
if __name__ == '__main__':
app = MainApp()
app.run()
Output

Ex 2: kivyApp2.py
from kivymd.app import MDApp
from kivymd.uix.label import MDLabel
from kivymd.uix.screen import Screen
class Demo(MDApp):
def build(self):
# defining screenpip
screen = Screen()
# defining 1st label
l = MDLabel(text="Hello!!", pos_hint={'center_x': 0.6,
'center_y': 0.8},
theme_text_color="Custom",
text_color=(0.5, 0, 0.5, 1),
font_style='H1')
# defining 2nd label
l1 = MDLabel(text="Hello Kivy Welcome!", pos_hint={'center_x': 0.6,
'center_y': 0.6},
theme_text_color="Custom",
text_color=(0.5, 0, 0.5, 1),
font_style='H2')
# defining 3rd label
l2 = MDLabel(text="Hello Kivy Welcome!", pos_hint={'center_x': 0.6,
'center_y': 0.4},
theme_text_color="Custom",
text_color=(0.5, 0, 0.5, 1),
font_style='H3')
screen.add_widget(l)
screen.add_widget(l1)
screen.add_widget(l2)
return screen
if __name__ == "__main__":
Demo().run()
Output

EX 3 : kivyApp3.py
# Program to Show how to use textinput (UX widget) in kivy
# import kivy module
from kivy.uix.boxlayout import BoxLayout
from kivy.uix.textinput import TextInput
from kivy.uix.scatter import Scatter
from kivy.uix.floatlayout import FloatLayout
from kivy.uix.label import Label
import kivy
from kivy.app import App
kivy.require('1.9.0')
# Create the App class
class TutorialApp(App):
def build(self):
b = BoxLayout(orientation='vertical')
# Adding the text input
t = TextInput(font_size=50,
size_hint_y=None,
height=100)
f = FloatLayout()
s = Scatter()
l = Label(text=" Hello !",
font_size=50)
f.add_widget(s)
s.add_widget(l)
b.add_widget(t)
b.add_widget(f)
# Binding it with the label
t.bind(text=l.setter('text'))
return b
# Run the App
if __name__ == "__main__":
TutorialApp().run()
Output :

Ex 4 : kivyApp4.py using .kv file
import kivy
from kivy.app import App
kivy.require('1.9.1')
class kvfileApp(App):
pass
kv = kvfileApp() # kvfile.kv
kv.run()
kvfile.kv
Label:
text: "Hello"
Output

ex 5 : kivyApp5.py
from kivy.app import App
from kivy.uix.boxlayout import BoxLayout
###############################################
# creating the root widget used in .kv file
class KVBL(BoxLayout):
'''
no need to do anything here as
we are building things in .kv file
'''
pass
#################################################
# class in which name .kv file must be named KVBoxLayout.kv.
class KVBoxLayoutApp(App):
def build(self):
# returning the instance of KVBL class
return KVBL()
##################################################
# creating the object root for BoxLayoutApp() class
root = KVBoxLayoutApp()
# run function runs the whole program
root.run()
KVBoxLayout.kv
<KVBL>:
orientation: 'vertical'
#########################################################
# defining the buttons in the box layout format
# and adding colour, size etc to it.
# you can use accordingly
Button:
text: "B1"
background_color: 0, 1, 1, 1
font_size: 20
Button:
text: "B2"
background_color: 0, 1, 0, 1
font_size: 20
Button:
text: "B3"
background_color: 0, 0, 1, 1
font_size: 20
Button:
text: "B4"
background_color: 1, 0, 1, 1
font_size: 20
Button:
text: "B5"
background_color: 1, 0, 0, 1
font_size: 20
Output:

Ex 6 : kivyApp6.py
import logging
from kivy.logger import Logger
from kivy.uix.widget import Widget
from kivy.uix.button import Button
from kivy.app import App
import kivy
kivy.require("1.9.1")
Logger.setLevel(logging.TRACE)
# Creating a widget class
# through this we add button
# the commands of the class is in .kv file
class Button_Widget(Widget):
def __init__(self, **kwargs):
# Python super() function allows us to
# refer to the parent class explicitly.
super(Button_Widget, self).__init__(**kwargs)
# creating Button
btn1 = Button(text='Hello World 1', font_size="15sp",
background_color=(1, 1, 1, 1),
color=(1, 1, 1, 1),
# size =(32, 32),
# size_hint =(.2, .2),
pos=(300, 250))
# Arranging a callback to a button using
# bind() function in kivy.
btn1.bind(on_press=self.callback)
self.add_widget(btn1)
# callback function tells when button pressed
# It tells the state and instance of button.
def callback(self, instance):
print("Button is pressed ")
print('The button % s state is <%s>' % (instance, instance.state))
# create App class
class ButtonApp(App):
def build(self):
# return the widget
return Button_Widget()
# run the App
if __name__ == "__main__":
ButtonApp().run()
output
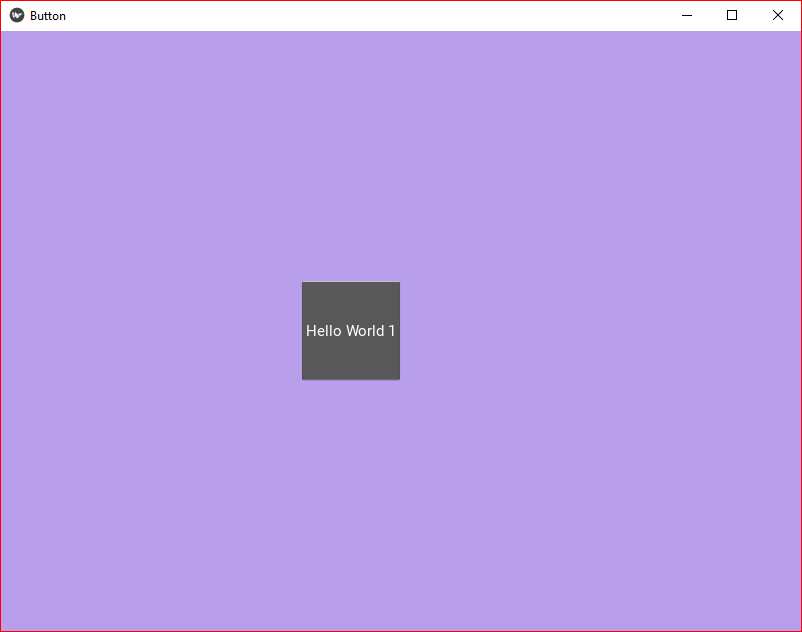
Once you click hello world1 button, it changes to blue.

Ex 7 kivyApp7.kv
from kivy.uix.pagelayout import PageLayout
import kivy
# base Class of your App inherits from the App class.
# app:always refers to the instance of your application
from kivy.app import App
kivy.require('1.9.0')
# The PageLayout class is used to create
# a simple multi-page layout,
# in a way that allows easy flipping from
# one page to another using borders.
# creating the root widget used in .kv file
class PageLayout(PageLayout):
pass
# creating the App class in which name
# .kv file is to be named PageLayout.kv
class PageLayoutApp(App):
# defining build()
def build(self):
# returning the instance of root class
return PageLayout()
# creating object of PageLayoutApp() class
plApp = PageLayoutApp()
# run the class
plApp.run()
pagelayout.kv
# creating simple Pagelayout using.kv
# creating simple Pagelayout using.kv
# creating page Layout
<PageLayout>:
# Creating Page 1
# Using BoxLayout inside PageLayout
BoxLayout:
# creating Canvas
canvas:
Color:
rgb: 0, .5, .95, 1
Rectangle:
pos: self.pos
size: self.size
# Providing orientation to the BoxLayout
orientation: "vertical"
# creating Button
Button:
text: "Page 1"
size_hint_y: .4
# Adding Label to Page 1
Label:
markup: True
text: "RMC"
color: 0, 0, 0, 1
outline_color: 0, 0.5, 0.5, 1
font_size: 30
# Creating Page 2
BoxLayout:
orientation: "vertical"
canvas:
Color:
rgba: 109 / 255., 8 / 255., 57 / 255., 1
Rectangle:
pos: self.pos
size: self.size
Label:
markup: True
text: " Kivy[b]PageLayout[/b]!!!!! "
color: 0, 0, 0, 1
outline_color: 0, 0.5, 0.5, 1
font_size: 30
Button:
text: "Page 2"
size_hint_y: .2
# Creating Page 3
BoxLayout:
orientation: 'vertical'
canvas:
Color:
rgba: 100 / 555., 9 / 155., 37 / 455., 1
Rectangle:
pos: self.pos
size: self.size
Label:
text: 'page 3'
# This Image is directly from the websource
# By using AsyncImage you can use that
AsyncImage:
source: 'http://kivy.org/logos/kivy-logo-black-64.png'
# Creating Page 4
Button:
# Adding image
# image must be .png
# and present at the same folder where
# .kv and main file is saved
Image:
source: "download.png"
center_x: self.parent.center_x
center_y: self.parent.center_y
output:

Pl refer kivy Tutorials :
1. Tutorials — Kivy 2.1.0 documentation
2. Kivy Tutorial - GeeksforGeeks

No comments:
Post a Comment